Japan is a dream destination for most Filipino travelers. But before you make your first step on the Land of the Rising Sun, you need to work and save big time. First is to get the visa and next is to accumulate a sufficient travel fund. Why is money included in the picture? Because it will dictate how many days and how will these days be spent in Japan. This two-week Japan itinerary I’ll be sharing had months of research that required me to consult several friends who’ve been to this Asian destination.
The trip happened after I resigned from work and extending the money on my travel fund was a real challenge. ‘Cheap Japan itinerary’, ‘budget 2-week stay in Japan,’ and ‘Japan travel budget tips’ are some of the keywords that I fed to search engines on my quest to produce the cheapest yet exciting two-week Japan itinerary. But I don’t suggest to leave your jobs just for this trip. If you have a super nice manager who approves leaves up to 10 days, this fits you. For those who aren’t, you can still use the other parts of this itinerary in planning your Japan trip. Before anything else, these are the cities included: Tokyo, Hakone, Kyoto, Nara, Osaka, Kobe, and Himeji.
DISCLAIMER: Some of the links in this post are affiliate links. If you think it will be more convenient for you to purchase these activities/passes before your trip to Japan, kindly book them below. The commission I’ll get for every successful booking comes at no extra cost to you.
Klook.com
Klook.com
THINGS BEFORE YOU GO
Visa/Immigration
Like what I’ve said in the previous paragraphs, visiting Japan is not as simple as flying to Singapore or Hong Kong. Filipinos entering Japan needs to apply for a Japan visa. For first-time applicants, a single-entry for 15 days is the usual visa-type being granted by the embassy if you are qualified based on your application. Unlike for South Korean visa, where you need to apply at the embassy directly, applying for a Japan visa requires you to visit their affiliated agencies where you need to submit your documents and application form after paying the processing fee. For Japan visa application, check my separate post on applying for a Japan visa. I applied for my Japan visa via Friendship Tours and paid Php1,200.
Weather
Japan has four seasons and each provides different experiences and landscape views. Checking the weather also helps you plan for clothes (don’t miss the OOTD shots!) that you’ll jam inside your luggage. Check-in baggage is not my thing and I don’t want to bring bulky winter clothes so I decided to visit between April and September. But July and August are the hottest months in Japan and you don’t want torrential rains defying some plans on your visit. Autumn attracts tons of tourists as it’s perfect for outdoor activities. However, Spring really allures everyone to visit Japan because of the sakura (cherry blossom) season.
Currency/Exchange
Bringing US Dollars is best but you can already get Japanese yen (JPY) from major banks and money changers in the Philippines. Airports are always not the best place to buy and convert currencies. So if you’ll bring dollars with you, I advised you to get enough yen for buying train tickets out of the airport. You can always change your dollars in Japan banks or money changers accessible to your accommodations.
Klook.com
BUDGET TIP: NO JR PASS PLEASE!
Japan Rail Pass (JR Pass) is the best way to move around Japan and having one will make your transfers from one prefecture to another smoothly and faster on the Shinkansen. However, the convenience that JR Pass also requires a hefty amount of money. Japan Rail Pass comes in two versions: Green Car (first class) and Ordinary Car. For Green Car Pass, passes are available at JPY38,880 (7 days), JPY62,950 (14 days), and JPY81,870 (21 days). Meanwhile, the Ordinary Car Pass starts from JPY29,110 (7 days), JPY46,390 (14 days), to JPY59,350 (21 days). To differentiate the two, Green or Ordinary passes, check this post.

I don’t have a lot of money to spare so I did my research. But if you have limited time and wanted to visit tons of attractions, I recommend getting one. Book in advance before your visit because the pass is not that widely available in Japan. There are several affiliated agencies in the Philippines selling JR Pass but for seamless purchase, get your Japan Rail pass from Klook. Click here to check the variants and prices.
My quest for a 2-week Japan itinerary that won’t utilize a JR Pass, started. If you have plans of following my itinerary, here are the tourist cards/pass you need to purchase. The total accumulates to JPY20,300, including the Willer Bus from Tokyo to Kyoto, which is cheaper than the cheapest JR Pass and take note that some passes already come with free admissions to some attractions.
TOURIST PASSES
Good to know that some cities and prefectures offer tourist passes that allow tourists to have unlimited rides on subway and buses and others even include free activities and admission to some attractions. You can click the following passes/tickets and purchase them in advance from Klook. Avail discounts and promos for cheaper rates.
- 48-hr Tokyo Subway Pass (2 days in Tokyo) JPY1,200
- Hakone Free Pass (1 day in Hakone) JPY5,200
- Willer Night Bus from Tokyo to Kyoto JPY3,900
- 3 days Kyoto Bus Pass (3 days in Kyoto) JPY1,500
- 3-day Kansai Thru Pass (for Kyoto, Nara, Osaka, and Himeji) JPY5,200
- 2-day Osaka Amazing Pass (2 days in Osaka) JPY3,300
It’s also better to fly-in to Narita Airport in Tokyo and book a flight out of Kansai Airport in Osaka, or the other way around. Getting to and out of the airports is swift because of the train networks both in Tokyo and Osaka.
Getting to and out of Narita International Airport
For Narita Airport, if it’s too overwhelming to try commuting on several trains on your arrival, take the Tokyo Skyliner and arrive in the city in just 41 minutes. Another option is the Narita Airport Limousine equipped with comfy seats, nice leg room, and free Wifi. What did I do? I asked the help of the airport staff to purchase a single journey ticket to Asakusabashi, where my hostel is located. Travel time was around an hour and price was JPY1,100 (USD10).
Klook.com
Getting to and out of Kansai International Airport
If you booked one or both of your plane tickets via Kansai International Airport, swift options are the KIX Airport Limousine Bus or the train servicing the Kansai Airport – Namba route. On my case, since my Kansai-Thru pass was still working on my last day, I availed the free ride on my way to the airport.
TWO-WEEK JAPAN ITINERARY
Day 1 – 4 Tokyo
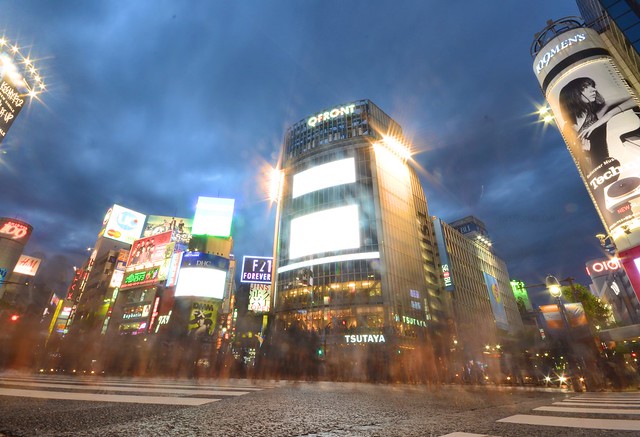
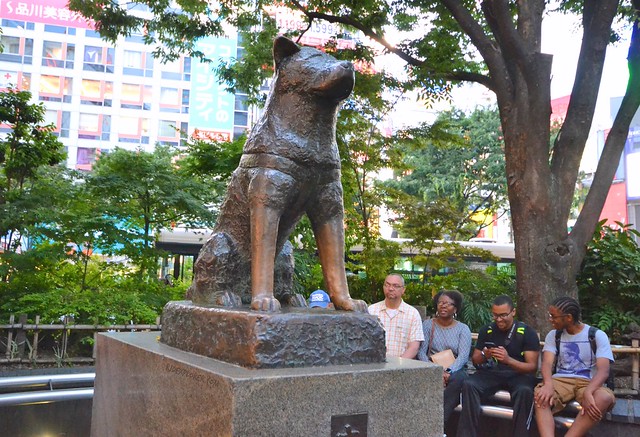
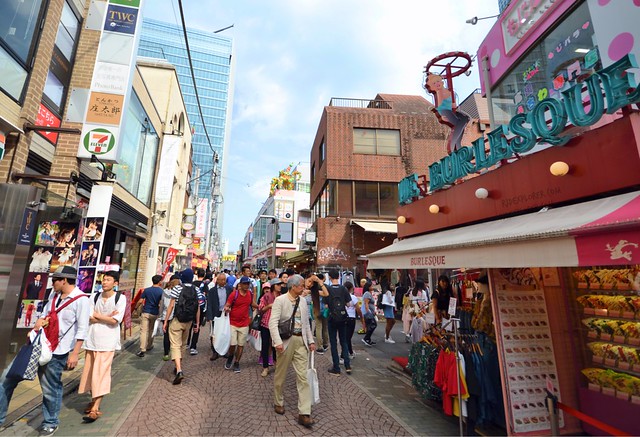
People tell you that once you experienced the crowd at Shibuya Crossing, the busiest pedestrian in the world, and had a picture with Hachiko, you already visited Tokyo. To clarify, you only visited a spot of Tokyo. Literally, because the two are located in a single intersection. Tourist activities and attractions in Tokyo can be segmented into five categories: temples and shrines, remarkable buildings, parks and gardens, food tripping, and shopping.
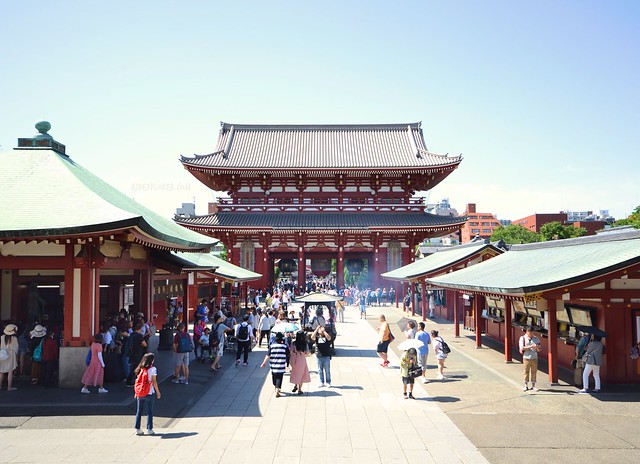
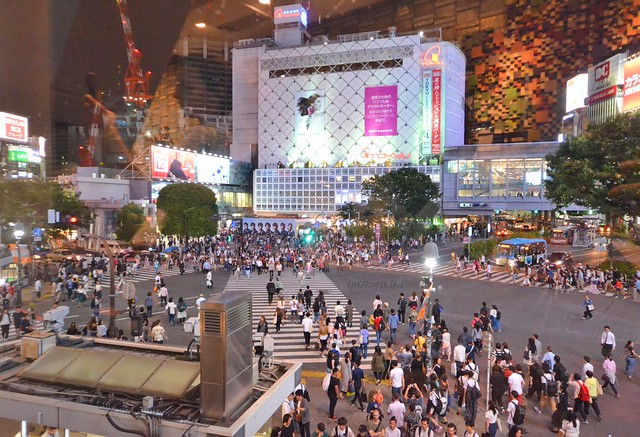
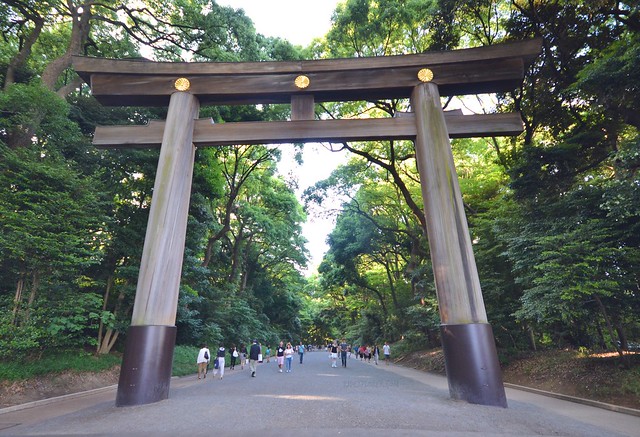
Must destinations: Sensoji Temple, Tokyo Natl Museum, Shibuya Crossing, Hachiko Square, Tsukiji Market (was burned down few months ago), and Meiji Shrine.
Klook.com
Klook.com
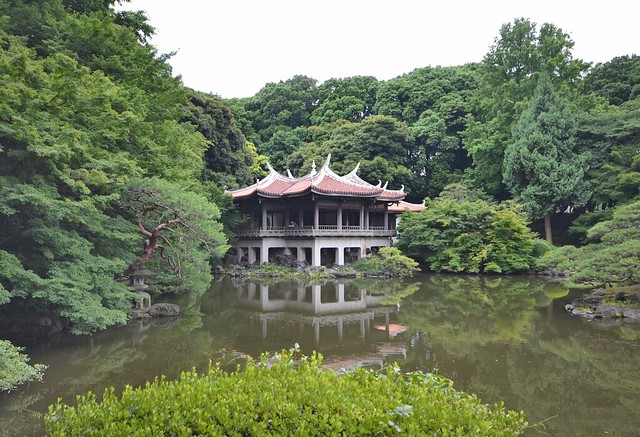
Shopping Areas: Akihabara, Shibuya, Shinjuku, Harajuku, and Takeshita Street.
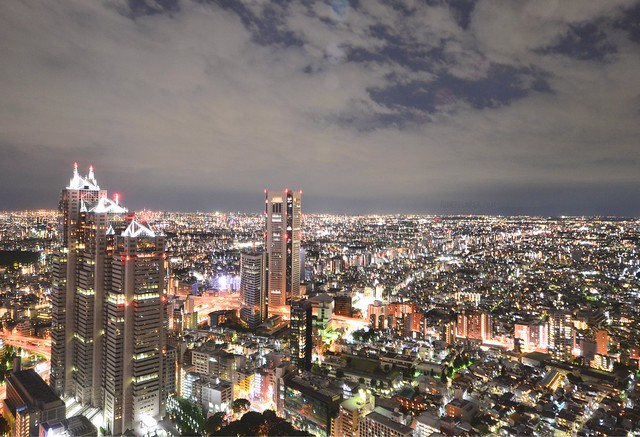
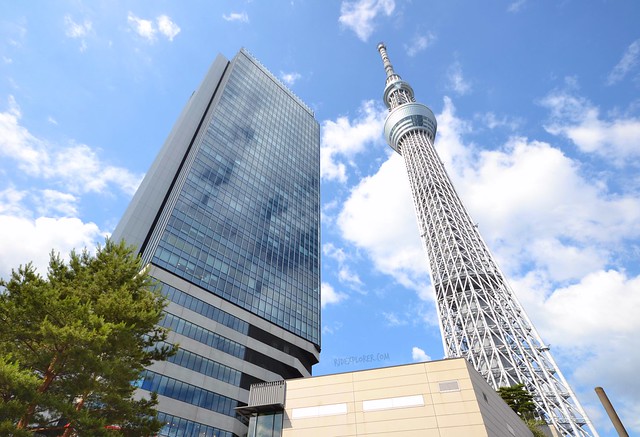
Remarkable buildings: Tokyo Tower, Tokyo Skytree, and Tokyo Metropolitan Government Building.
Day 5 Hakone
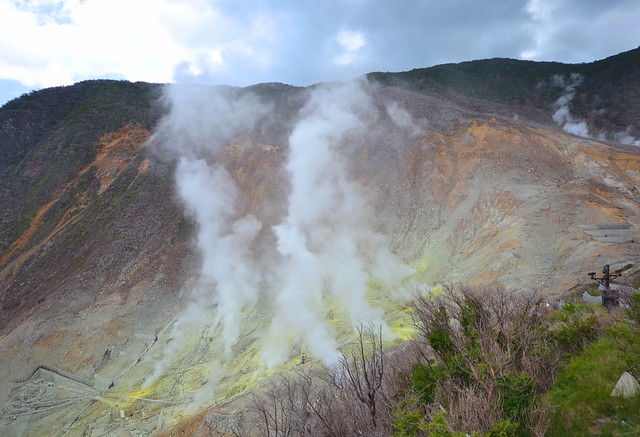
With my desire to see the famous Mount Fuji, I decided to purchase a Hakone Free Pass. The coverage of the pass starts on a train ride from Shinjuku to Odawara Station. Other inclusions are unlimited rides on the Hakone Tozan Train, Cable Car, and buses. From Gora, take the Hakone Tozan Cable Car and transfer to Hakone Ropeway. Marvel at the beauty of Owakudani, a volcanic valley with active sulfur vents. Kuro-tamaga, or black eggs, are sold at the shops at Owakudani Station.
Klook.com
Day 6 – 9 Kyoto
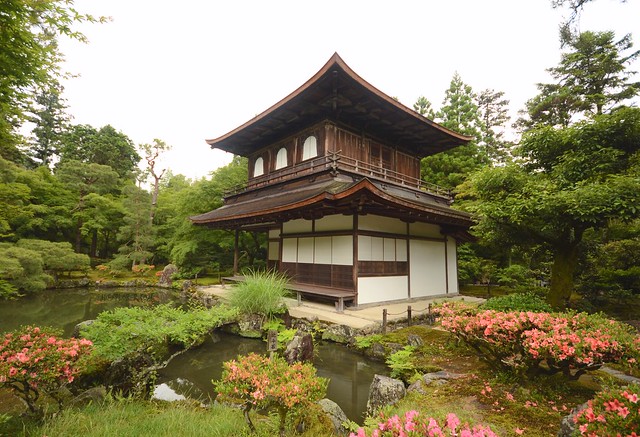
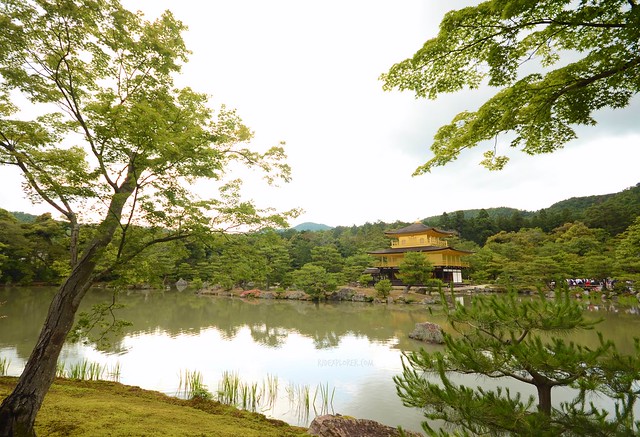
Out of all the cities I’ve visited on this Japan trip, I considered Kyoto as the highlight destination. This charming prefecture in Kansai is overflowing with history, culture, and landscapes. The only downside is the steep admission fees on shrines and palaces and the bus fares (buy a daily bus pass!). Landmarks not to miss are the Kyoto Imperial Palace, Ginkakuji Temple, Kinkauji Temple, Ryoan-ji Temple, and Kiyomizu-dera Shrine.
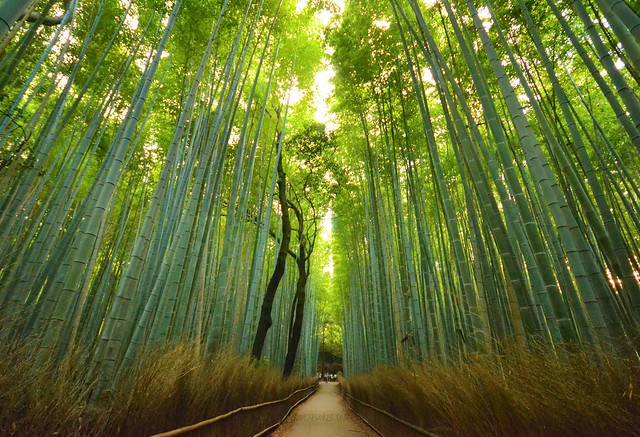
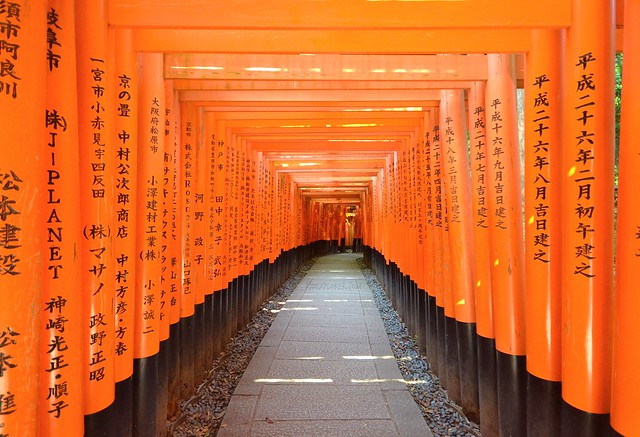
Of course, Kyoto is famous because of two unbelievably breathtaking sites: the Arashiyama Bamboo Forest and Fushimi Inari Shrine. Don’t be fooled by the bamboo grove because the view on the first segment of the attraction wasn’t that nice. Walk until the very end of the road for the best spot bordered by mighty green bamboo trees. I went to the bamboo forest around 6 PM to avoid the hordes of tourist. This goes the same with Fushi Inari Shrine which I visited around 7 in the morning. The torii gates get crowded at times and it’s best to go to the far end of the series of gates. You can also hike to the top of the hill and traverse around 10,000 torii gates. End one of your days in Kyoto by waiting for the sunset on the viewing deck of Kyoto Tower.
Klook.com
Day 10 Nara
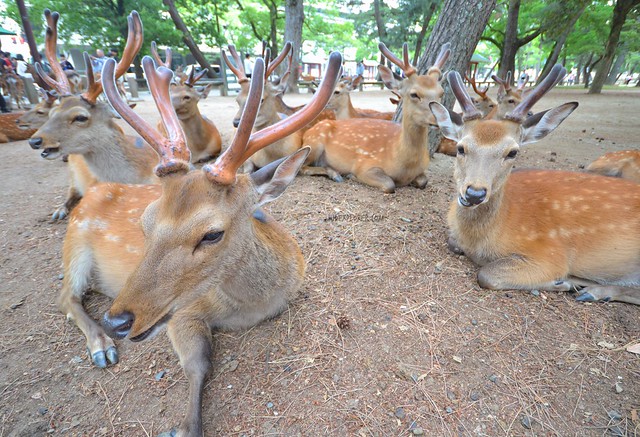
Nara is famous because of the deer park. Even few meters from Nara Station, you could already spot one. Just be careful though because the animals will follow you if they know you have a deer food. Locals selling the food are culprits to these incidents, LOL. If you’re done with the deer, take a walk around the temples. Suggestions will be Kofuku-ji Temple, Isuien Garden, Todai-ji Temple, and Nigatsu-do Temple.
Day 11 Himeji
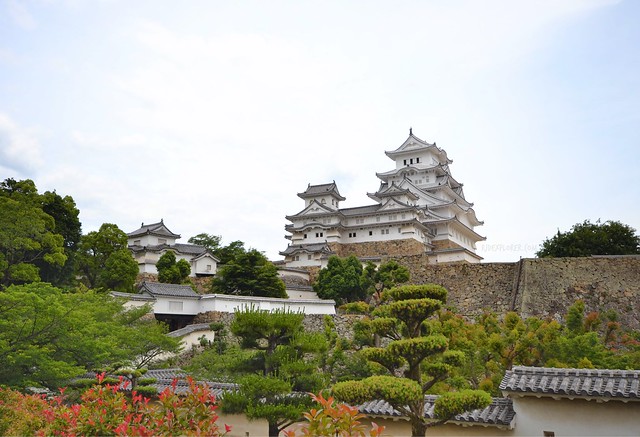
Another UNESCO Heritage Site forced me to go to Himeji. Since the city is included in the Kansai Thru Pass, I spared a day to see the Himeji Castle. Himeji Castle was built on top of a hill and also famous for White Egret Castle because of its structures and roofing. I paid a discounted JPY800 admission fee because of my Kansai Thru Pass. You can enter the castle and disentangle the history out of its six floors. From the topmost floor of the castle is a sweeping view of the city.
Day 12 – 14 Osaka
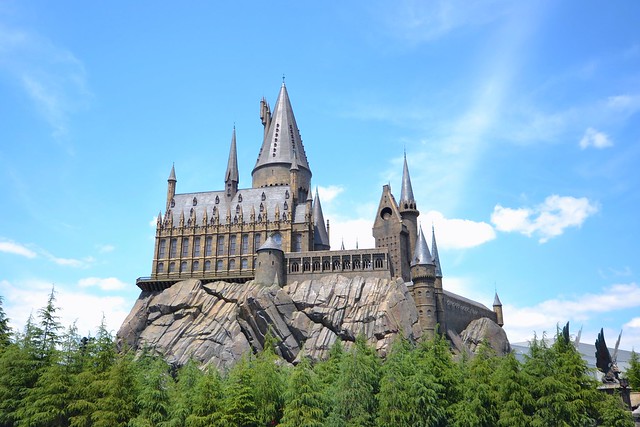
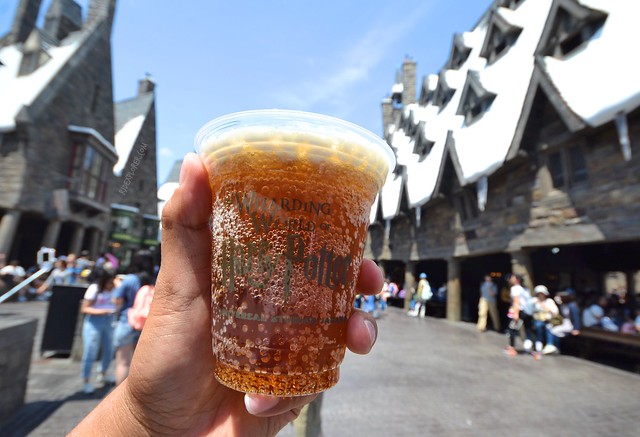
My activity in Osaka started with Universal Studios Japan. With my experience at USS, I made sure I would also visit its Japan version mainly because of the Wizarding World of Harry Potter. Enjoy a day full of fun from the thrilling rollercoaster rides, 3D and 4D indoor rides, mascots, and other activities. To complete your Harry Potter experience, don’t forget to try the Butterbeer!
Klook.com
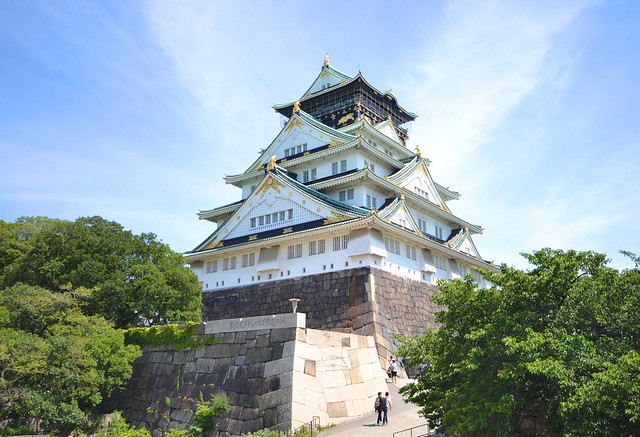
On my last day, I spent the entire morning at Osakako area for a Tempozan Ferris Wheel ride and scaling the 55–story Cosmo Tower. For more details on the Osaka Amazing Pass, check my separate post detailing on the savings and conveniences of having one. Of course, how can you miss Dotonbori and Shinsaibashi, the busiest districts of Osaka for shopping, food, arcades, and karaoke.
WHAT TO EAT
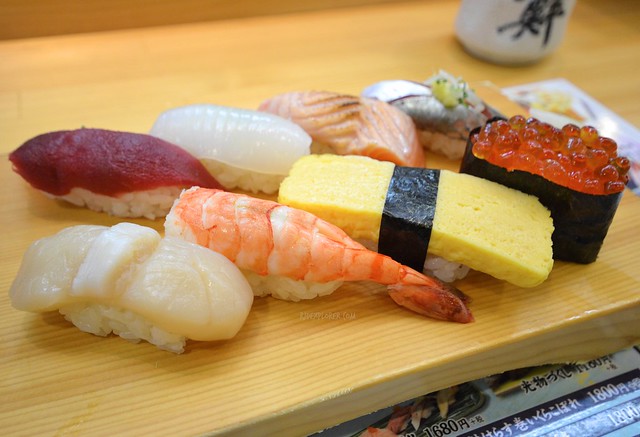
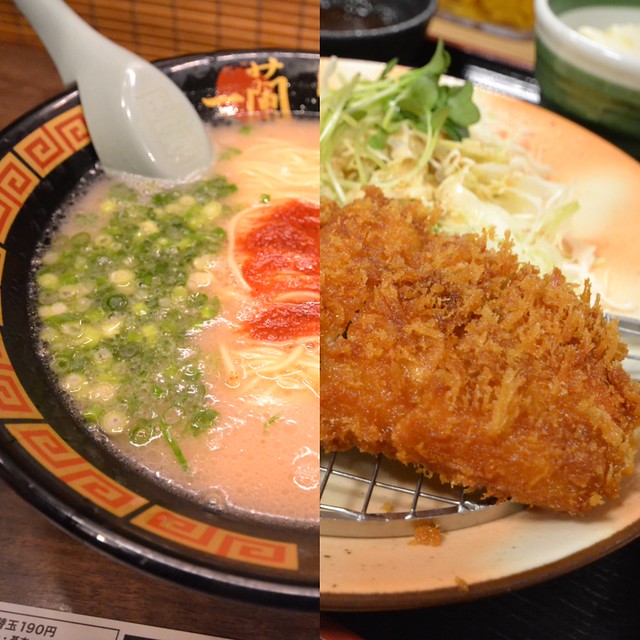
Most people say that food in Japan is expensive and I already prepared myself for it given that I eat a lot. Cheapest ramen bowl I’ve tried was JPY650 and the most expensive from Ichiran Ramen House for JPY1,080 (including add-ons). Japan is also the best place to have sushi and a JPY1,500 gave me a sushi platter having 8 types of heavenly bites.
Chicken Kaarage, one of my favorites on my trip because of the wasabi sauce, is normally JPY500 for 3 pieces served with generous steamed rice and thinly-sliced cabbage. Street-food and skewers are also options but I didn’t go that way because prices are not significant compared to set meals.
And this I tell you, the cheapest meals I’ve had were from convenience stores. Yes! 7-eleven, Family Mart, and Lawson offer bento boxes for as low ad JPY350 that already includes rice, fried chicken, varieties of fish, and tofu. Food are not that bad especially if you’re on a budget.
WHERE TO STAY
Friends suggested Airbnb for a cheaper option but it’s only feasible if you’re in a group where you can split the rate. For solo travelers, capsule and dormitory accommodations are still better and cost-efficient. Thanks to Traveloka for the series of discounts and promotions and I was able to book all my stay on a slashed rate.
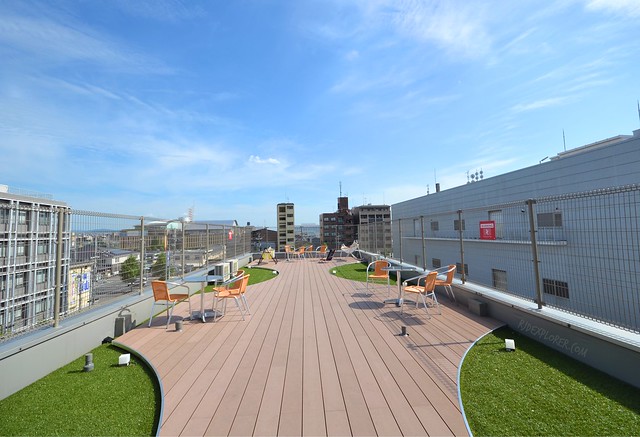
For my 12 nights (one night was spent for a night bus to Kyoto, saved me another night at a hostel), I stayed in six dormitories: two hostels in each key city; Tokyo, Kyoto, and Osaka. For Tokyo, Hostel EAST57 near Asakusabashi Station, IMANO Tokyo Hostel near Shinjuku Station, Lund House and Mosaic Hostel Kyoto in Kyoto, and The DORM Hostel and Roots Hostel in Osaka.
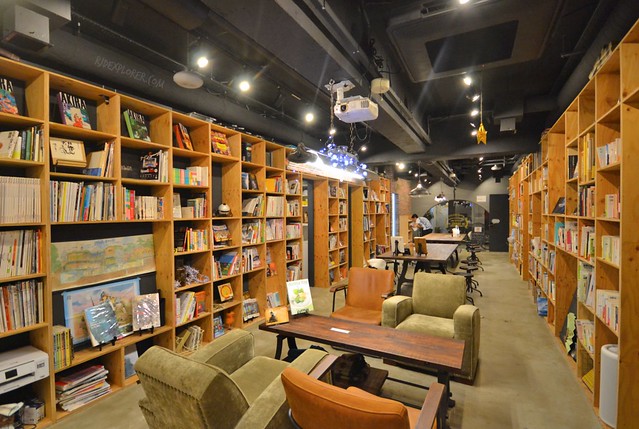
Capsule and pod beds in Japan range from PHP750-1,200 per night. Towels are sometimes not part of the inclusions and you needed to rent one on your stay. Breakfast is also not included on hostel rates yet some offers a 24/7 water, coffee, and tea area. Shower is in pod concepts like jumping into a capsule and shower amenities are always provided. All hostels I’ve stayed in have their own laundry facility with rates of JPY300 for wash and JPY100 for 30-min dryer. Here’s the breakdown of rates I’ve booked thru Traveloka.
- Hostel EAST57 JPY2,800
- IMANO Tokyo Hostel JPY4,800
- Lund House JPY2,800
- Mosaic Hostel Kyoto JPY5,000
- The DORM Hostel Osaka JPY6,000
- Roots Hostel JPY3,700
Klook.com
SAMPLE EXPENSES | Japan Itinerary: Below PHP37000 for 2 Weeks
Transportation		JPY6100
Tourist Passes		JPY16400
Food                    JPY21300
Accommodation           JPY25100
Tokyo National Museum  	JPY620
Hakone Exhibition Hall  JPY400
Shinjuku Garden         JPY200
Ginkakuji Temple        JPY500
Kinkakuji Temple        JPY400
Ryoanji Temple          JPY500
Himeji Castle           JPY800
Universal Studios Japan JPY7600
Kyoto Tower             JPY700
TOTAL: JPY80620 ~ PHP37000 ~ USD720
**JAPAN VISA            PHP1200





hello! this is awesome! we are planning our trip to JP as well, can you share or forward a copy of the itinerary through email please? looking forward to your response! thank you
You can use this itinerary in planning your Japan trip 🙂
As i was making my itinerary during my stay in kyoto, totally agree that entrance fees to temples eats most of my kyoto budget. As of now i dont have that much courage to ask for a 2 week leave, so kansai region for my allowed one week leave will do. Just curious, since you said you quit your job before your trip, did you experience any difficulty with our immigration because sometimes they ask for company id as a proof that you will come back. And could you advice some place in osaka to buy affordable souvenirs. Thanks! And will bookmarked this as an inspiration to plan to stay in japan longer than one week in the future.
The JR Pass price you listed here is the price for the Green Car pass. People can get the regular pass for only 29110 yen for 7 days. Please don’t mislead your readers. Thank you.
Hi Bea, thanks for pointing out the versions of the JR Pass. I didn’t plan and use one so I didn’t pay attention to it. But thanks for clarifying. Already updated the information. Thanks!
Super helpful! What transportation mode did you use from Hakone to Kyoto? Thanks!
Hi Sai, I only did a day trip to Hakone from Tokyo using the Hakone Free Pass. Did the overnight bus from Tokyo to Kyoto.
Do you advice I do wifi rental in japan ?
I didn’t get a Wifi device on my trip. I just connect to public wifi hotspots if there are available. It depends on your need. If you want to be connected to the internet all the time, then you should get one.
Hello. we plan to go on April next year, which month should we apply for a visa?
Hey RJ! Great tips. It;s timely that I have stumbled on your site, will be in Japan for a month and intend to spend less than 50k pesos. I initially thought JR pass is the way to go but good thing I discovered the cheap bus tickets. I’m surprised you only went to few spots in Kyoto, but agree that the entrance fee costs would def pile up.
Hi RJ! Great post! Would just like to ask if you know if transportation (all major bus and subway lines) in Kyoto and Osaka are all covered with the Kansai Pass / Osaka Pass? Or do you suggest we get a separate transport card like Icoca?
I think the buses are covered, not sure though if ALL buses. You can read more about the Kansai Thru Pass here http://www.surutto.com/tickets/kansai_thru_english.html.
37k Tokyo/Osaka/Kyoto with Hakone and Nara for 2 weeks is actually impossible. If you are going to different prefectures then JR pass is much more convenient though it will cost you around 12k but it will save you money and time allowing you to go to different places in less time. Remember that travelling in Japan is pretty expensive but try to research and save money in advance to maximize your trip to the fullest.
If you are travelling within Tokyo only with sidetrip to hakone, five lakes, or nikko then JR pass is not necessary. Just buy the suica or pasmo. These cards covers all railways and bus within tokyo (JR and non JR).
Wifi is a must when travelling to Japan. Not all public areas have wifi. So to go to the best restaurants and stores that you have read in the internet, get a wifi! Pupuru and GACC is some of the recommended wifis. GACC is cheaper. Be sure to reserve in advance online. Pick up and drop off are also hassle free.
Hi RJ! will be in osaka this november and were planning to visit nara and kyoto as well.
what’s the best and economical pass to get? tnx
You can use Kansai Thru Pass for visiting Kyoto and Nara from Osaka. If you’ll be staying few more days in Osaka, I recommend the Osaka Amazing Pass. You can book the passes using the Klook links on this post without extra cost to you 🙂
Kyoto is love! I spent a week in Kansai Area (Himeji-Kobe-Osaka-Nara-Kyoto) , it was my first time solo travelling and Japan is really ideal for that. I like to go back to Kyoto but will avoid temple with fees, and in Nara, i would like to feed the amusingly polite deers again, some of them greet people by doing a vow. Osaka is too crowded for me, though i would like to go back because i wasn’t able to go to the Osaka museum of housing and living. If possible, try to stay at Gion in Kyoto, i got a chance to watch a Maiko (like an intern geisha) perform in Gion Corner for 2500 yen, for me it was worth it.
thanks for this very helpful info. we are going to japan on dec19-25. will arrive tokyo on the night of dec19, planning to go to kyoto/osaka on dec 20 (day trip only), dec 21 planning to go to mt fuji(day trip as well) and dec22-24 (still deciding where to go). dec25 morning- flight back to manila. questions:
with this planned itinerary can u suggest if its worth to get a jr pass? btw we are a family group of 6 adults with 1 kid. hope u can help us. any suggestions where to go for 3days? we are staying at sumida district (airbnb). thanks
If you have a limited time in Japan and planning to visit several prefectures during your stay, getting a JR Pass will be worth it. If you still have 3 days to spare, I would consider staying for one more day in Kyoto, one more day in Osaka, and consider Disneyland or Sea in Tokyo (for the kids). You can use my Klook links on this post to get passes and tickets conveniently on your Japan trip without extra cost to you.
I have same iterinary like yours.until now still planning where to go.trip is on jan12 to 20
Is it possible that you could send me the document of your layed out itinerary?? My boyfriend and i are planning to travel to japan with a limited budget.
Hi Ara, this is all I’ve got. Because tracking all expenses and detailing itinerary for such kind of trip is too tedious esp if it’s more than a week. If you have questions, you can message me on my Facebook page 🙂
Hi, do you still have the sample itinerary you submitted in Japan Embassy for your Visa Application?
Hi Franz, I recently published a Japan visa application post. You can check the daily schedule here: http://www.rjdexplorer.com/japan-visa-filipinos/
This P37,000 expenses you indicated has no Airfare with it. How much did your airfare cost roundtrip?
Ano pong company ID ang nipresent mo sa immigration officer kung nagresign ka na sa work? salamat!
Hindi po ako hiningian ng ID.
Hi po, travel alone ba kayo?
Please tip naman, I will travel alone this July and sa OSAKA Airport ako.
I am planning tlaga tour best places in Osaka and after that Kyoto. I will stay in Japan for 5 days lng. or 4 days and a half. Much appreciated if you can me
I traveled alone. Hope you can find some details on this post helpful for your trip. If you have questions, ping me on my Facebook Page.
we will go to Japan by may 20, 2018 for the second day we will go to disneyland, second day we will go to Mt. Fuji and the3rd day we will go to disney sea , we are in Kasai what pass we will purchase..???please advise us…thank you.
You mean Kansai? I used Kansai Thru Pass in touring Kyoto, Osaka, Nara, and Himeji for 3 days. Check out the Kansai Thru Pass here.
hi. ill be traveling to tokyo for 10days with my family. my parents cant cope up with me and my brother’s stamina. we did 10 day seoul travel earlier this year and i can see that they are always tired and cant stand a day of walking. my question is, is it feasible to travel from tokyo to kyoto then exit thru osaka for 10 days? i mean, my parents can handle probably 2 to 3 attractions per day. thanks
Hi Jay, making your way out of Japan via Osaka will save you guys few hours of travel time than going back to Tokyo to have your flight out. 10 days is enough but since you’re with your parents, just pick attractions/destinations that are friendly to them. It’s also best to have your activities/tickets using Klook because it will save you tons of time queuing for admission tickets. You can book it via the Klook links on this post with no additional cost to you. Hope this itinerary will help you draft your own. Enjoy!
I got RT tix Tokyo airport but still wanted to visit Osaka. How much time should i allow for me to travel from osaka back to tokyo again so I won’t miss my flight?
Hi po! We will travel to Japan on April for 8 days. We plan to follow your itinerary. Is it okay if we will stay in one hotel for our 3-day stay in Tokyo? You stayed 2 hotels for your four day stay. Do you have an itinerary that has specific places to visit on a certain day and the hotel you stay on that day? Thank you for replying. God bless you.
Hi Girlie, you can stay anywhere you want but I recommend picking accommodation near a train station for easier access. I suggest either Shinjuku area (though a bit more expensive) or Asakusa district. As for the specific places, you can work around it by checking the attractions listed on this itinerary. Enjoy Japan!
Thank you for this, Sir. What can you suggest for Kyoto Tour? I cannot access to your Kyoto Bus Pass, Sir.